When editing photos, one of the first things you'll want to do is "fix" the skin of your subjects. I've fumbled around with this for years. I use almost exclusively open source tools like GIMP for my work, which while extremely powerful, often lack most of those automatic tools and niceties present in paid products like Photoshop. So I'll share my method, which I adopted from this YouTube video.
Wavelet Decomposition Is Magic
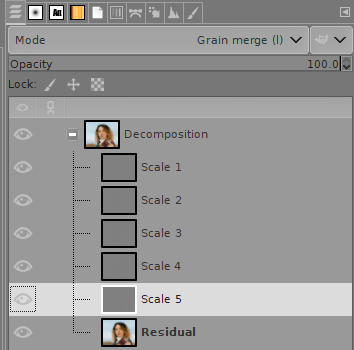
The real magic of this technique relies on what is known as wavelet decomposition. Wavelet decomposition will divide your picture in to several layers: the "residual" layer which serves as your base color layer, then a number of "scale" layers contain the texture and detail data from your photo.
Each scale contains a level of fine detail, giving you the ability to make changes to the texture of the image separately from the color of the image. As you'll see, this lets us make some fine tuned changes to imperfections in the skin without harming other skin texture.
Step by Step
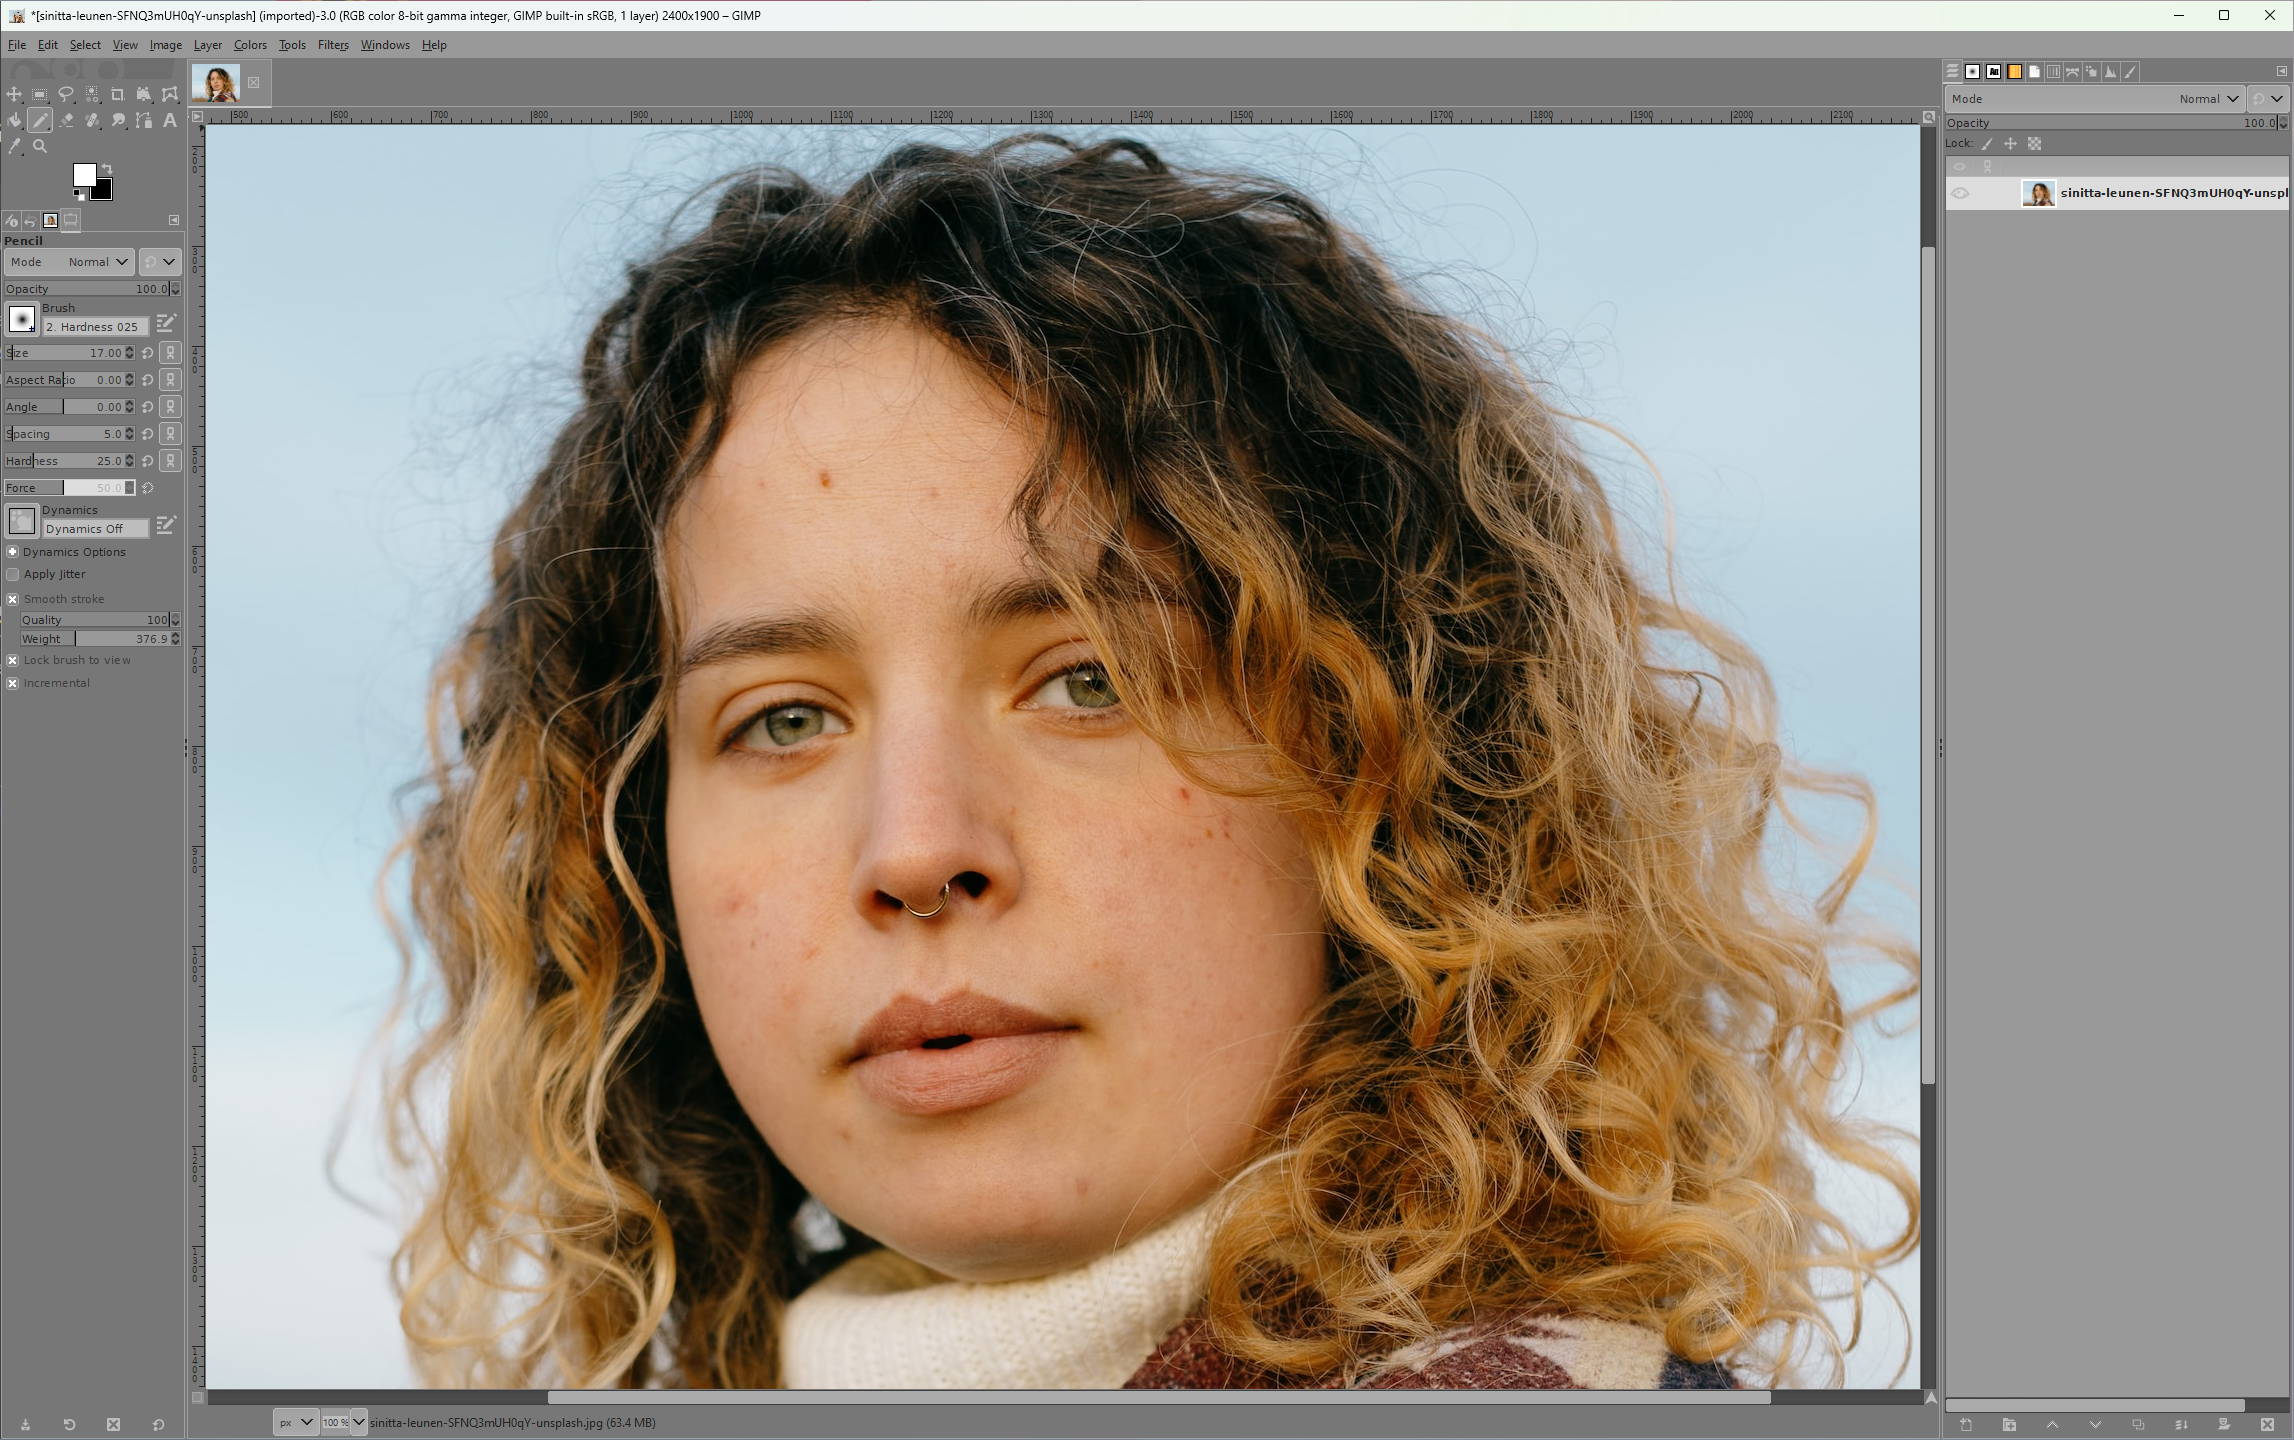
First let's load up an image we want to touch up. I've used this lovely photo by Sinitta Leunen from Unsplash.
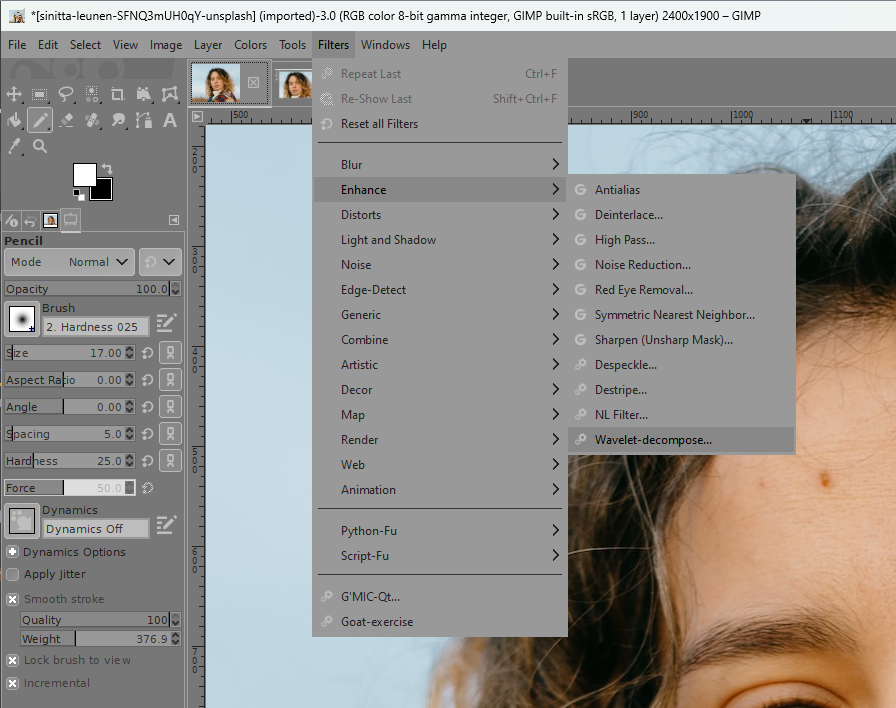
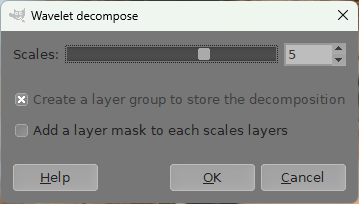
We'll run Filters > Enhance > Wavelet-decompose. The default options will be fine for our purposes here. Feel free to experiment if you need more or less detail to edit.
You'll find a series of new layers. Scale 1 through n, as well as the Residual layer. The scale layers represent the abstracted layers of "detail" from the photo, while the residual layer represents the color information from the image.
Let's take a look at Scale 3.
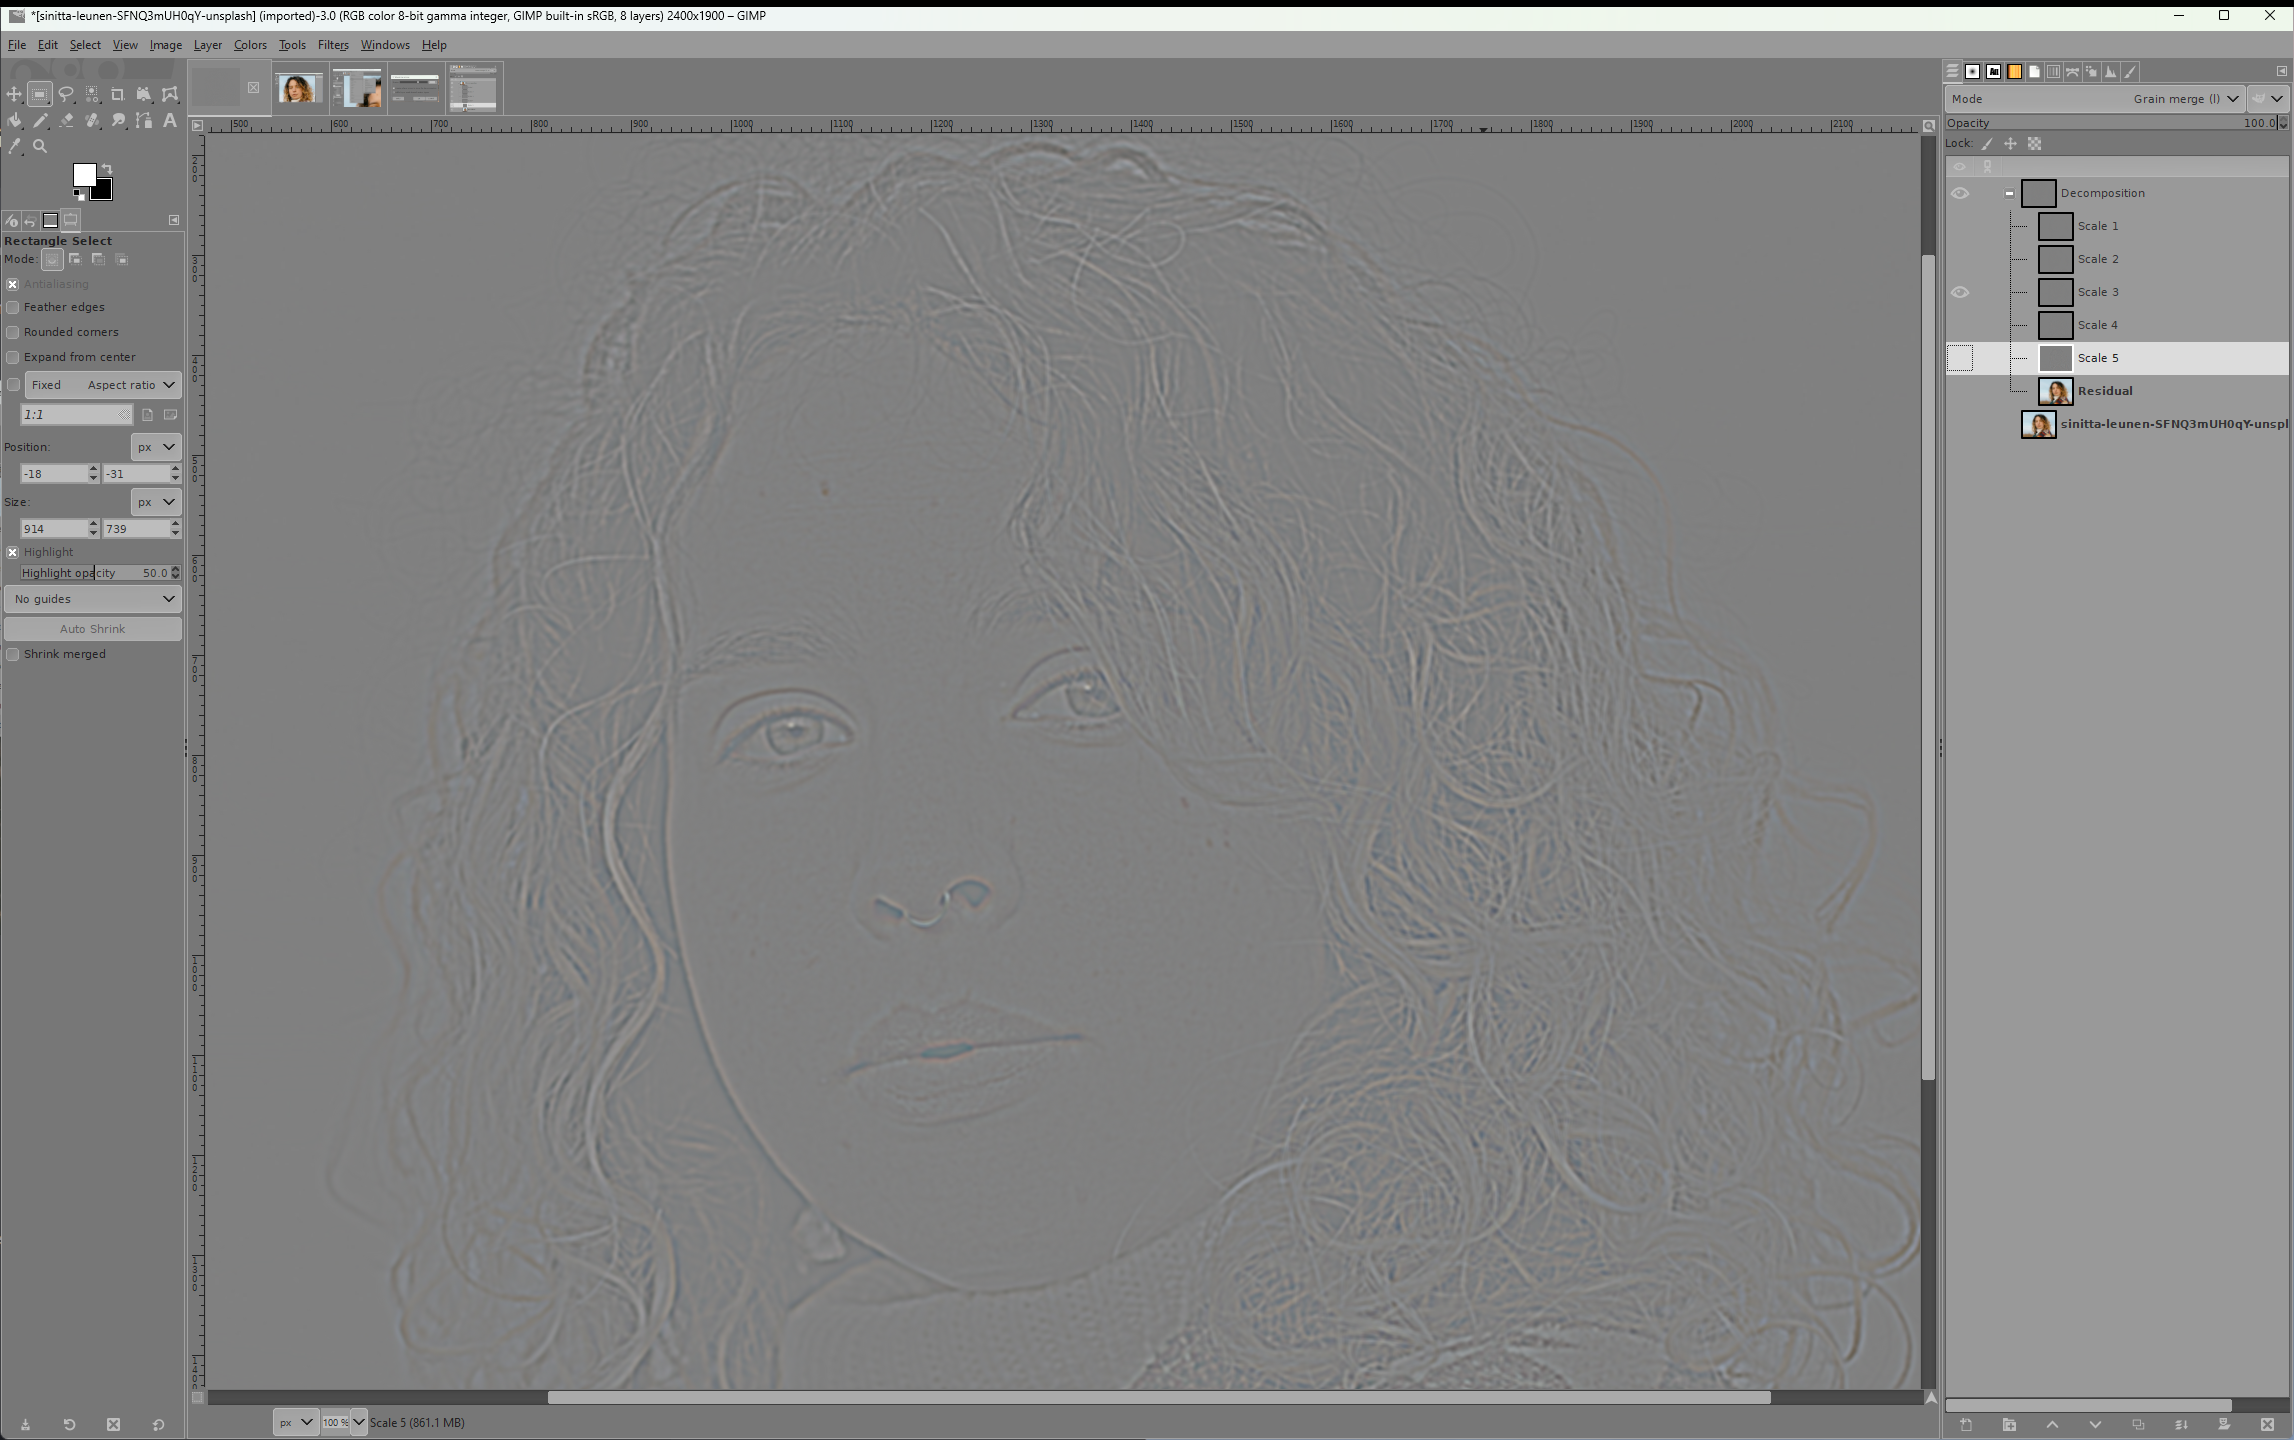
You'll see a (mostly) gray scale image of the finer details of the original photo. Here, you'll use a combination of the Heal tool and painting over blemishes that need to be removed. If you're going to paint, I suggest using a hex color value of #808080 and using the Airbrush tool.
I find it easier to edit one layer at a time. You will probably find that not all blemishes appear on every scale layer. That's normal.
Here I used the Heal tool to maintain the quality of the surrounding skin texture.
And do the same with the color layer.
You can now turn on all the layers and see the results!